Anything is possible if you believe, and that includes installing auto window tint. In this article, we will walk you through the step-by-step process of installing window tint to your automobile in a successful manner.
Needed Materials
First and foremost, you would need to prepare the materials. You’ll need a window tint from your trusted local tint shop, an application solution designed for window tinting, a lint-free cloth, scraper blade, razor knife, and an application squeegee.
Preparation Process
It is important to look for an area that is dust-free, an area that is not too hot nor too cold for you to work on the window tinting process. Furthermore, kindly consult your local tinting laws before proceeding with the next step.
Each state has their own tinting laws that need to be followed by everyone looking for tinted windows. It is important to be a law-abiding citizen when it comes to enjoying the many benefits of auto window tinting.
Application of Window Tint
- Apply the application solution inside the window. You would want to remove any debris as well, so it is important to run the scraper blade, starting from the top, going down, across your car windows.
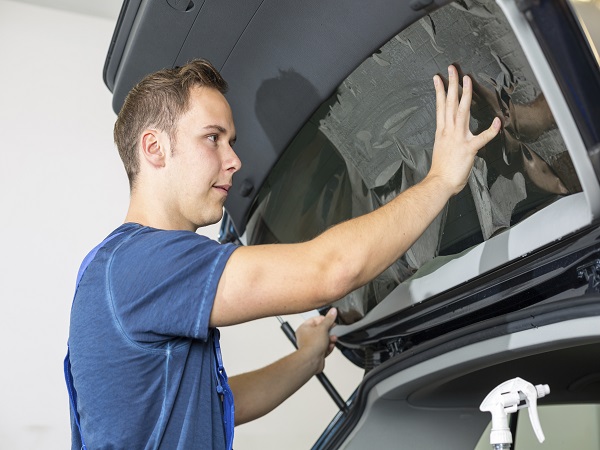
- Apply the application solution outside the window – this will allow the film to stay put while you roll it over your car windows. Keep in mind that the protective film layer should be facing upwards.
- Use the squeegee and run it over the tint to keep it in place.
- In case of sliding windows, start by rolling down the windows. Keep in mind that there should be at least a quarter of an inch from the door frame.
- Use the window frame as a guide when cutting the top portion and sides of the window film.
- Start by sliding the auto window tint up and cut along the bottom of the window – the window gasket should serve as a template.
- In order to peel the protective liner with a piece of clear tape, use it to fix the film on the corner of the window and start peeling downwards. The adhesive surface should be sprayed with application solution as you peel.
- Take out the film from the windows outside and place it on the windows inside. Position it on top of the window, making sure that you leave 1/8-inch space from the top of the sliding windows.
- As you push any air or water out, make sure that you run the squeegee along the windows as well.
- Spray the films with application solution and finally, use the clean cloth to wipe down paint and door trims. The purpose of the cloth is to absorb any leftover application solution.
Auto window tint is such an amazing way to improve the overall look of your car as well as enhance its privacy. With this DIY auto window tint, you’ll be able to cut back on expenses!